
Vendor - How to Add Products to your Shop
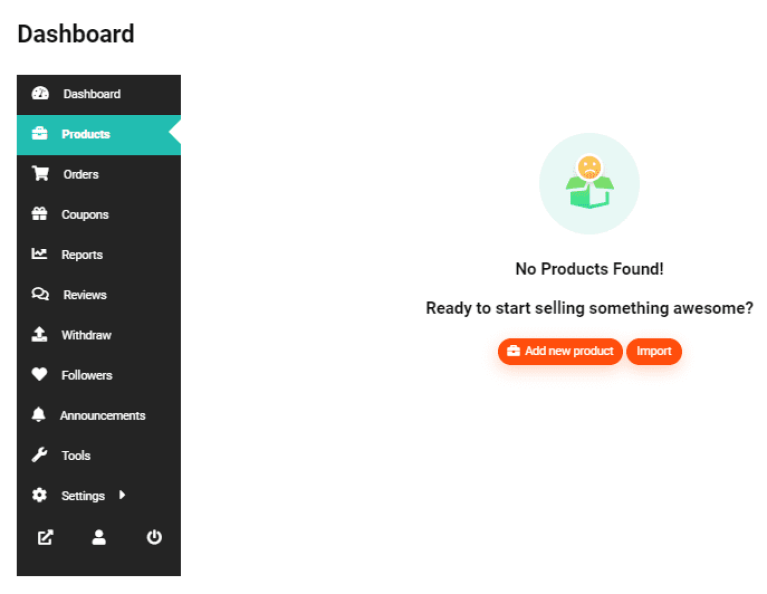
1. When logged in click on the drop down menu on your profile next to “Stores List” and click on “Manage Your Shop”. This will take you to your Vendor Dashboard.

2. Once on your Vendor Dashboard, click on “Products”. Click on “Add New Product” to start adding a product.
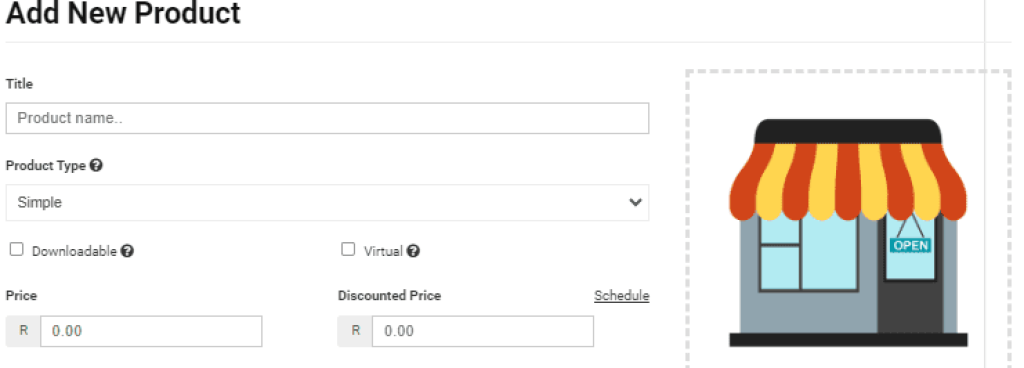
3. Give your product a title in the “Title” field.

4. “Product Type” – Here you can choose the type pf product you are selling. Selecting “Simple” is easiest of the options if your product is one standard size, colour, quantity etc.
Find a guide to Product Variations Here

5. Add your product image by clicking on the “Upload a product cover image” on the right of the “Title” and “Product Type” fields.

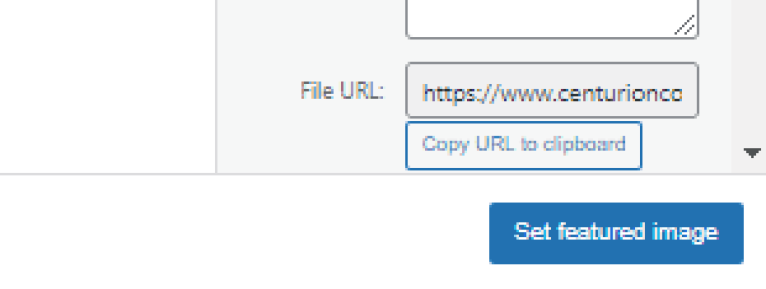
6. When in the “Upload featured image” menu, select your folder (it will have your shop name as the folder title). Click on the “Upload files” tab at the top. Then click on the “Select Files” button. This will open your files menu on your computer/device. Select the file you would like to use as the featured image of your product and then click on “Open”. Wait for the image to upload. The image will be selected automatically. Click on the “Set featured image” button on the bottom right of your screen.

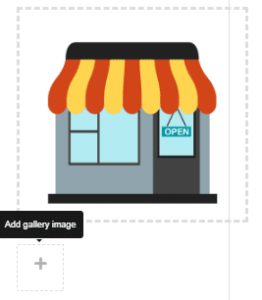
7. Add additional product images by clicking the “+” box underneath the featured image
8. Enter the price of your product in the “Price” field.

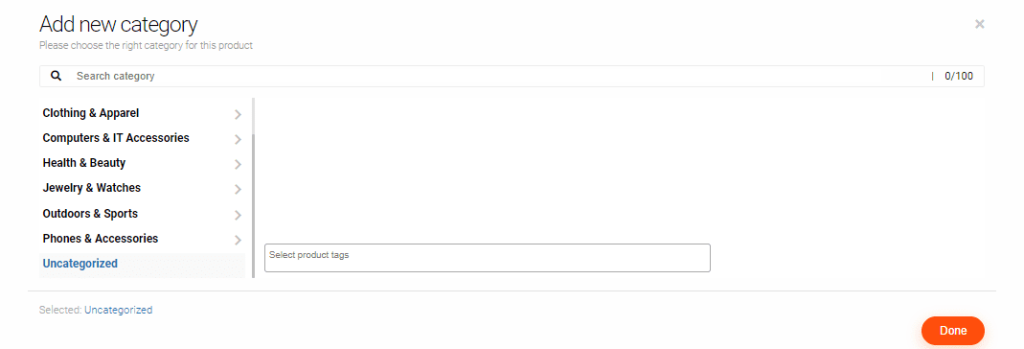
9. Select your category and then click on “Done” at the bottom right. If you cannot find an appropriate category for your product, then leave it uncategorized and click the “x” in the top right corner. Alternatively, you can contact us with your category suggestions at: info@centurioncommunity.co.za
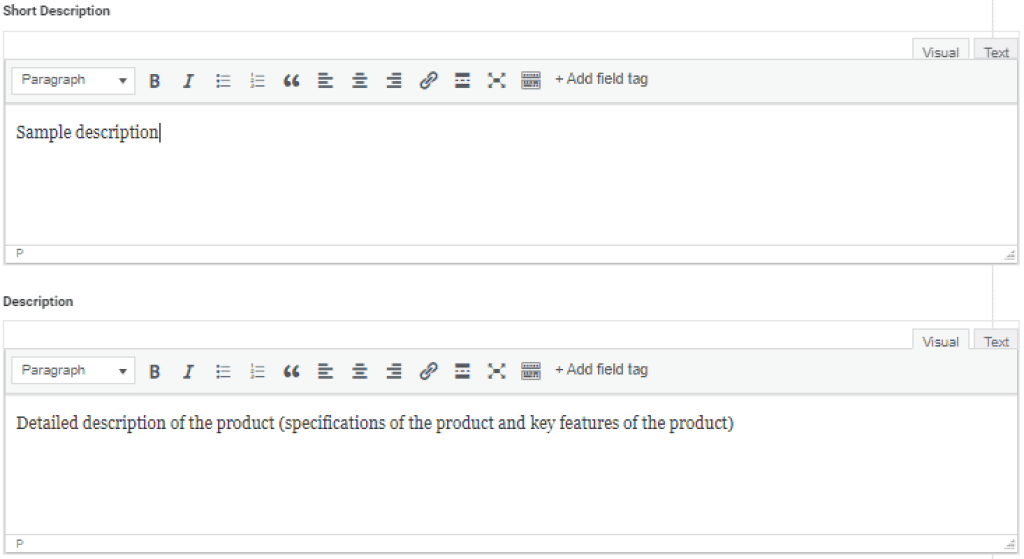
10. Enter a short description of your product in the “Short Description” box. (this will appear between your store name and the product price)
Enter a more in-depth description of your product in the “Description box”. You can add that your product is hand made or a specific colour, you can even add some key features of your product. It is entirely up to you on how much information you would like to add about your product. The more information the better. (this will appear in the description field underneath the product listing)
11. Managing stock levels – In the “SKU” field you can either create an SKU for your product, or if you already have an existing SKU, then you can just enter that into the field. Check the “Enable product stock management” box if you want customers to be able to see how many units of your product you have in stock. You can also allow your products to go onto backorder (not suggested to enable until you have gotten the hang of managing your CCS shop). You can also allow only one product to be bought in a single order, to help you better manage your stock levels (only suggested for customizable, hand-crafted products).
Creating and SKU can be quite difficult. Click Here for an article on how to effectively create and SKU that is simple to keep track of.

12. In “Other Options” you can add a purchase note. This you can customize to say whatever you want to your customer as this will be in their order email.
You can also choose to enable or disable product reviews by checking/unchecking the “Enable product reviews” box (it is suggested that you leave the box ticked, so that you know where you can improve your products)
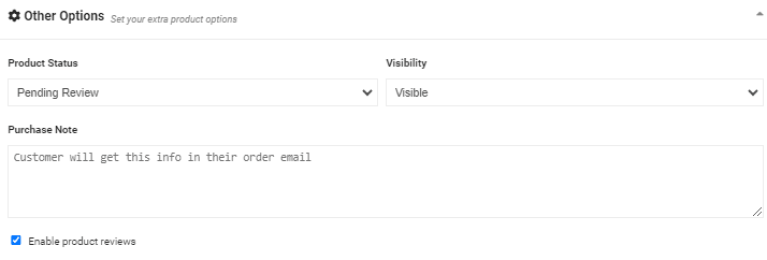
13. Go ahead and save your product by clicking on the “Save Product” button. Your product will remain in the “review” status until a member of the CCS team has reviewed it. After review, your product will be approved and it will be live on your store. If there are any issues with the product you have added, the CCS team will be in contact with you via email.

Below is what your product will look like after it has been approved.
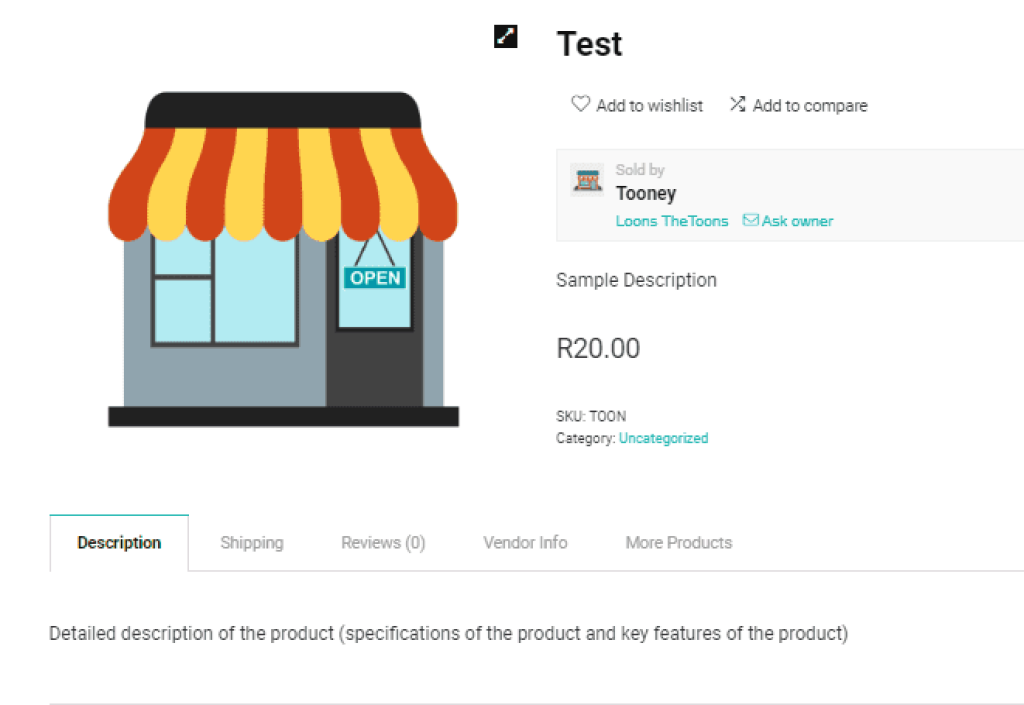
Congratulations! You have added your first product (~ ̄▽ ̄)~
Stay up to date by subscribing to our newsletter.


